The new Apple devices finally meet the
cutomers,with 5C and 5S,today we gonna “C” what inside the big iPhone 5C
Join us and experience the “C” together!
Step 1 — iPhone 5c Teardown
Big day today. We just finished
the iPhone 5C teardown, and now it's time to record and write down every detail
The teardown team are so excited
that we celebrate when we finish the whole process,and enjoy some Red Bull
together!
Never forget to power off and
eject the SIM card tray holder before dissemble
Step 2 — iPhone 5c Teardown
There are 2 super tiny Pentalobe
screws slightly different from the ones we found in the iPhone 5,to be more specific,the structures and appearance are different
Use a Pentalobe screwdriver to disassemble
the Pentalobe screws
Step 3 — iPhone 5c Teardown
Using a small suction cup to
dispatch the front panel assembly
In the following procedures,we
will disassemble the logic board first
Step 4 — iPhone 5c Teardown
Here we use a tweezer to remove
the front panel assembly cable bracket from the logic board
And remove the antenna connectors
with spudger or an opening tool, you will notice the adhered connectors,
accessory that haven't seen in any previous iPhone
You need to be careful as the
components are fragile,easy to broken
Step 5 — iPhone 5c Teardown
Disconnect the three front panel assembly cables
(Front-facing camera and sensor cable/Digitizer cable/LCD cable) and remove the screws that secure the logic board with cross head screwdriver,and
lift the logic board with a spudger.
You can see the front and rear
pictures of the logic board
We have also remove the cameras
from the logic board, just want to show you the structures
Step 6 — iPhone 5c Teardown
After that you can remove the
battery ,it’s kind of shock for me,because I didn’t find the metal battery
connector bracket,ok,never mind,continue!
Use a spudger to pry the battery
up from its socket
Be careful when you pry it up,do
it gently and lift it from both top and bottom side,what is more,you need to
lift it from the logic board side,instead of do it next the volume button and
frame,or you may crack the whole back housing!
We finally found out that the 5C
battery is fixed to the back housing by two double-sided tapes,that explains
why there is no battery bracket,and may also another reason we get a cheaper
price!
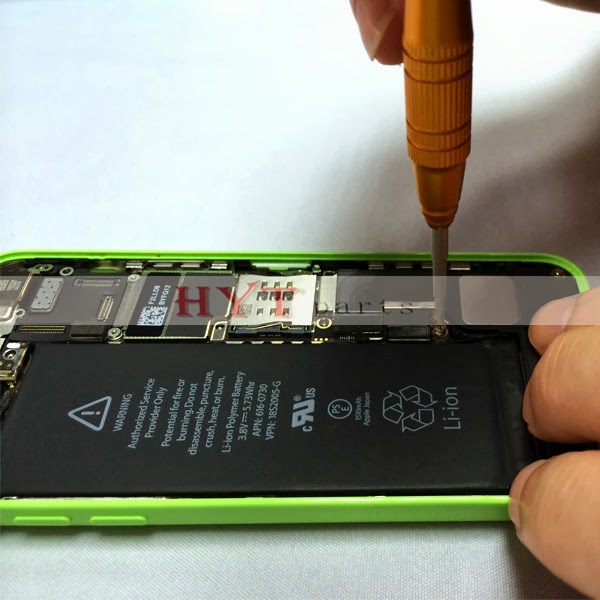
Step 7 — iPhone 5c Teardown
Continue with removing the
components on the top of 5C,we use cross-headed screwdriver and tweezers here
It’s loud speaker (speaker closure)
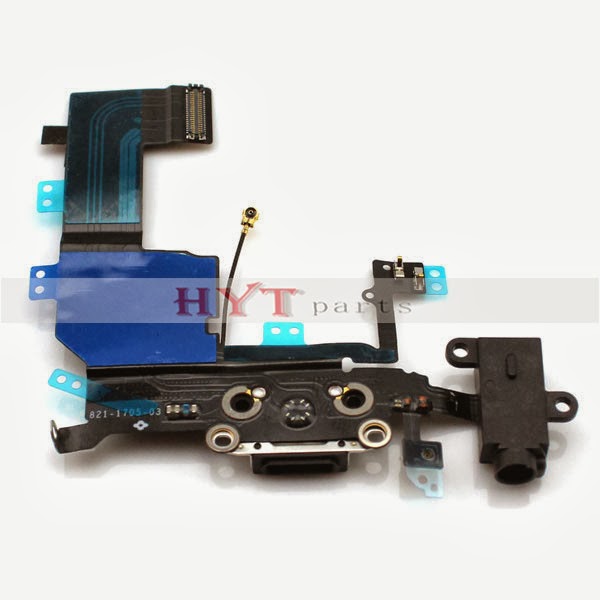
The charging dock flex cable
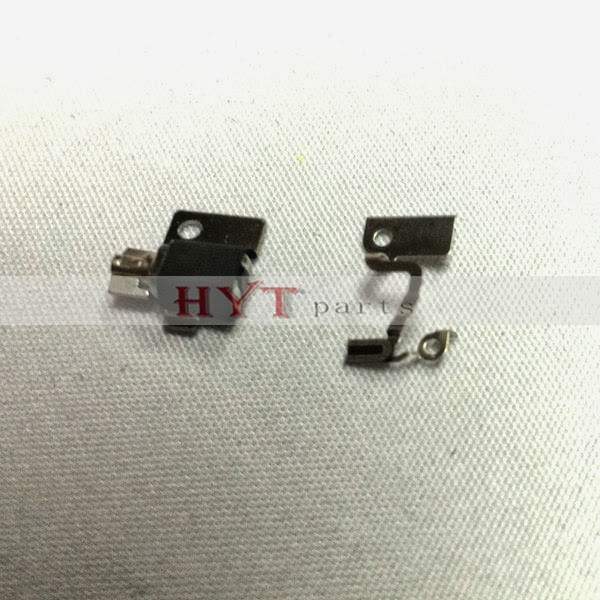
Do not forget the mini motor in the corner (the picture of the motor and motor bracket)
Power and volume (mute) flex cable
and external power and volume (mute) switch buttons
The components and structures of the iPhone
5C. Big C here!